Article
Connecting Dynamics 365
Step-by-step guide to connecting your Microsoft Dynamics 365 CRM to Revial.
Step 1: Find Your Instance URL
Your Dynamics 365 instance URL follows this format:
https://yourorg.crm4.dynamics.com
The regional suffix depends on your Dynamics 365 datacenter location:
| Suffix | Region |
|---|---|
| crm | North America |
| crm2 | South America |
| crm3 | Canada |
| crm4 | EMEA (Europe, Middle East, Africa) |
| crm5 | Asia Pacific |
| crm6 | Australia |
| crm7 | Japan |
| crm8 | India |
| crm9 | US Government |
| crm11 | United Kingdom |
You can find your instance URL in the Dynamics 365 admin center or from the browser address bar when using Dynamics.
Step 2: Navigate to CRM Settings
- Open Revial and go to Organization Settings
- Select the CRM section
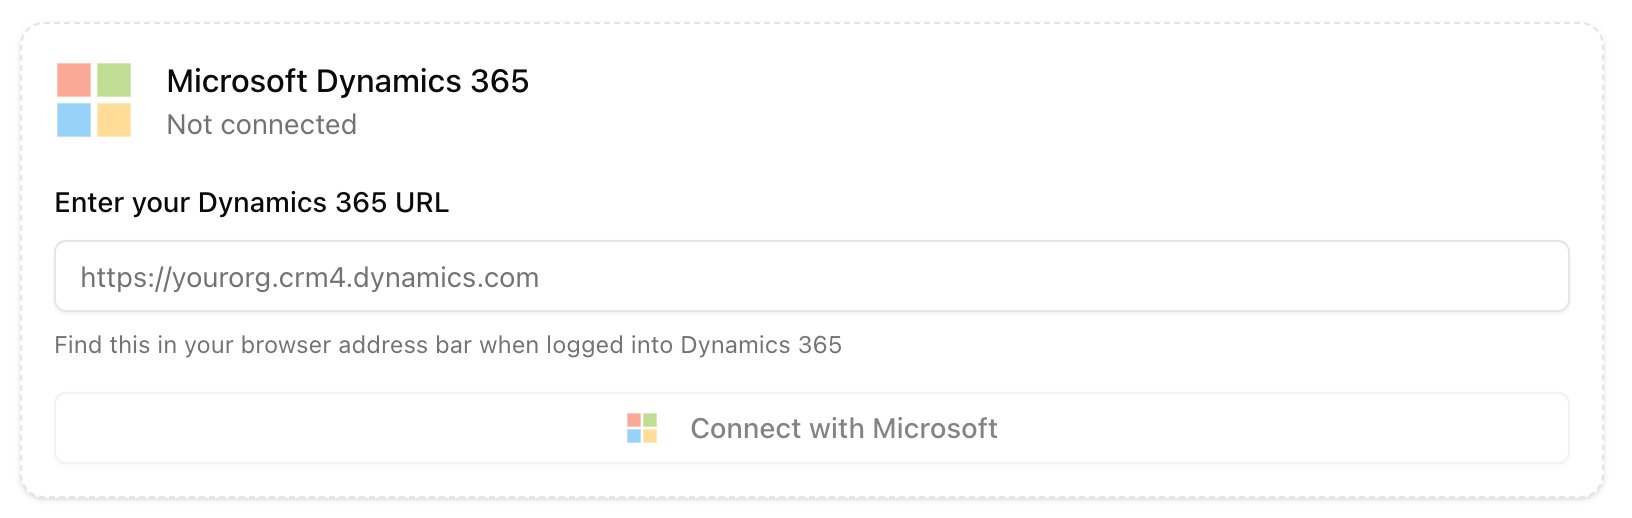
Step 3: Enter Instance URL and Connect
- Enter your Dynamics 365 instance URL in the text field
- Click "Connect with Microsoft"
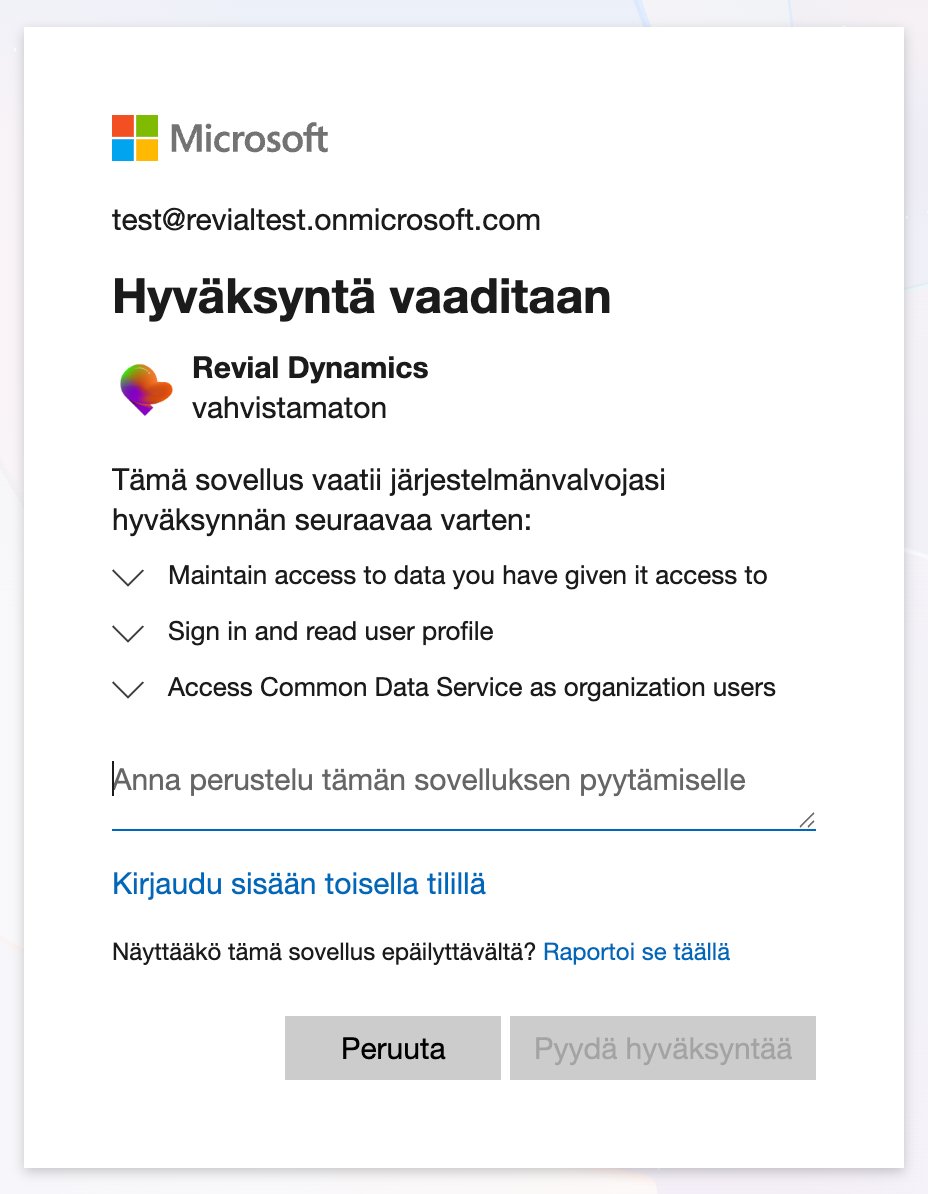
- You'll be redirected to Microsoft's sign-in page
- Sign in with your organizational Microsoft account
- Review the permissions and click Accept
Note: If you see a "Need admin approval" message, your IT administrator needs to grant consent for the Revial app in Microsoft Entra. See our Microsoft Entra Permission Setup article.
Step 4: Verify Connection
After authorization, you'll be redirected back to Revial. You should see:
- Connection status showing Connected
- The Microsoft email used for the connection
- A Sync Now button to trigger data sync

Step 5: Initial Sync
Click the Sync Now button to pull your CRM data into Revial.